
Sorry for the day off, but we tried to get this one done yesterday. Unfortunately Miles was too sick. So here it is!
Front Wrap Cross Carry (FWCC)
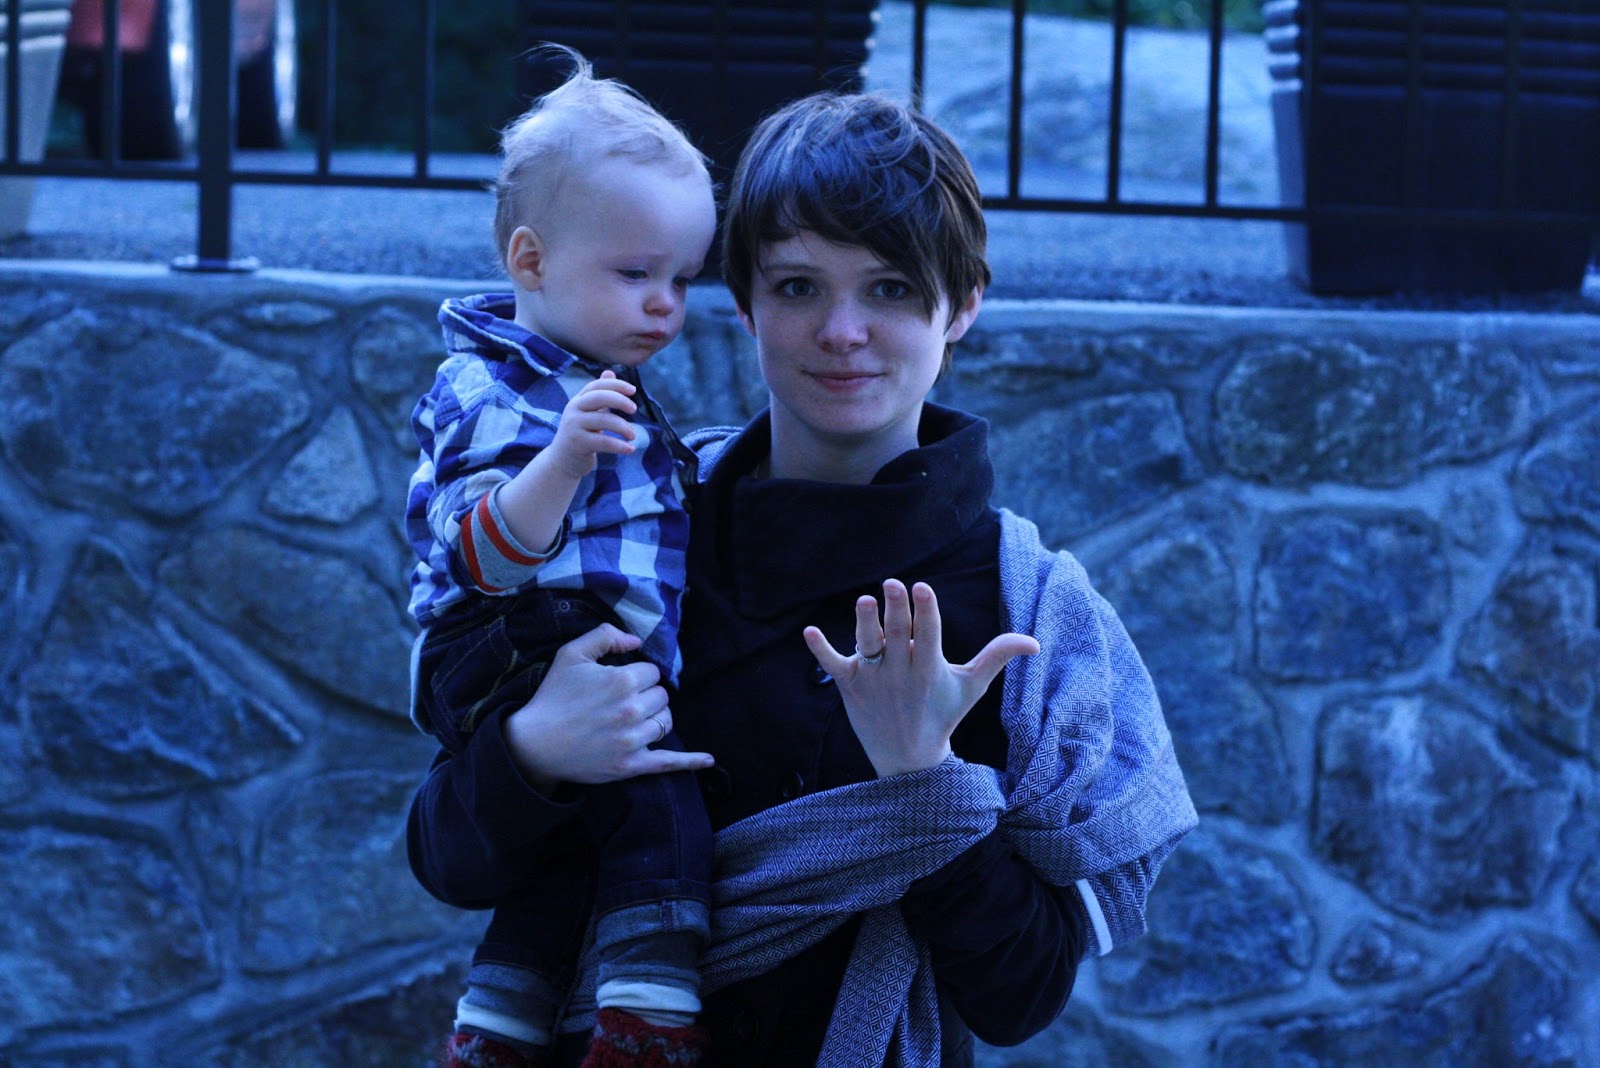
Today I thought a tutorial on one of the first carries people try! So Front Wrap Cross Carry (FWCC) it is! This carry is great for all ages, from newborn to toddler. If you have used a stretchy wrap, it is very similar to how you would have tied it. There are a few variations, some that help for a newborn, some are just a personal thing people do. I am going to do a photo tutorial, but I will link some videos for those that learn better that way and for some variations. Please excuse some awkward faces, we had one go at it with a cranky baby.
This carry is great for longer wraps, depending on your size you could use a size 4,5,6,7,8 wrap. There are a few variations that use smaller wraps, but that is for another day. I am using a size 5 Storchenwiege Leo Black and White.
Front Wrap Cross Carry (FWCC)
Today I thought a tutorial on one of the first carries people try! So Front Wrap Cross Carry (FWCC) it is! This carry is great for all ages, from newborn to toddler. If you have used a stretchy wrap, it is very similar to how you would have tied it. There are a few variations, some that help for a newborn, some are just a personal thing people do. I am going to do a photo tutorial, but I will link some videos for those that learn better that way and for some variations. Please excuse some awkward faces, we had one go at it with a cranky baby.
This carry is great for longer wraps, depending on your size you could use a size 4,5,6,7,8 wrap. There are a few variations that use smaller wraps, but that is for another day. I am using a size 5 Storchenwiege Leo Black and White.
To Start:
This is not a pre-tie carry, but there is a little bit of set up to do. (Although there are ways to do it without the set up, but for starts we’ll do it this way).
Find the middle marker on your wrap, and place in the middle of your torso.


Bring the tails of the wrap around your body, and
reaching back with your opposite hand grab the wrap and pull it up on your
shoulder.


Repeat with the opposite side.

So now you should have a pocket with two tails hanging over your shoulder.

I like to gather the pocket up a bit first, because it tends to slide down.

So now you should have a pocket with two tails hanging
over your shoulder. Next grab your baby, well for me a toddler, place them high
off to one side. I like to reach my hand through the wrap to guide his legs in.
Position your baby the way that is most appropriate for their age. For all
ages they should be upright. Then for a little baby you can froggy their legs
up into an “M” shape on and place them high on your chest, so you can kiss
their head (video on this below!). For an older baby, straddle their legs around you and place them
high enough that they are not on your hips but not so high that you can’t see.
Perfect placement will come with time, so don’t stress if it is a little
awkward at first, you’ll get it!
Then once baby is in position, place the middle marker
on their back and hold it there (a small or sleepy baby will have arms in, but
Miles is an arms out kind of guy). You can also transfer their arms in once they are sleepy or asleep for older babies.

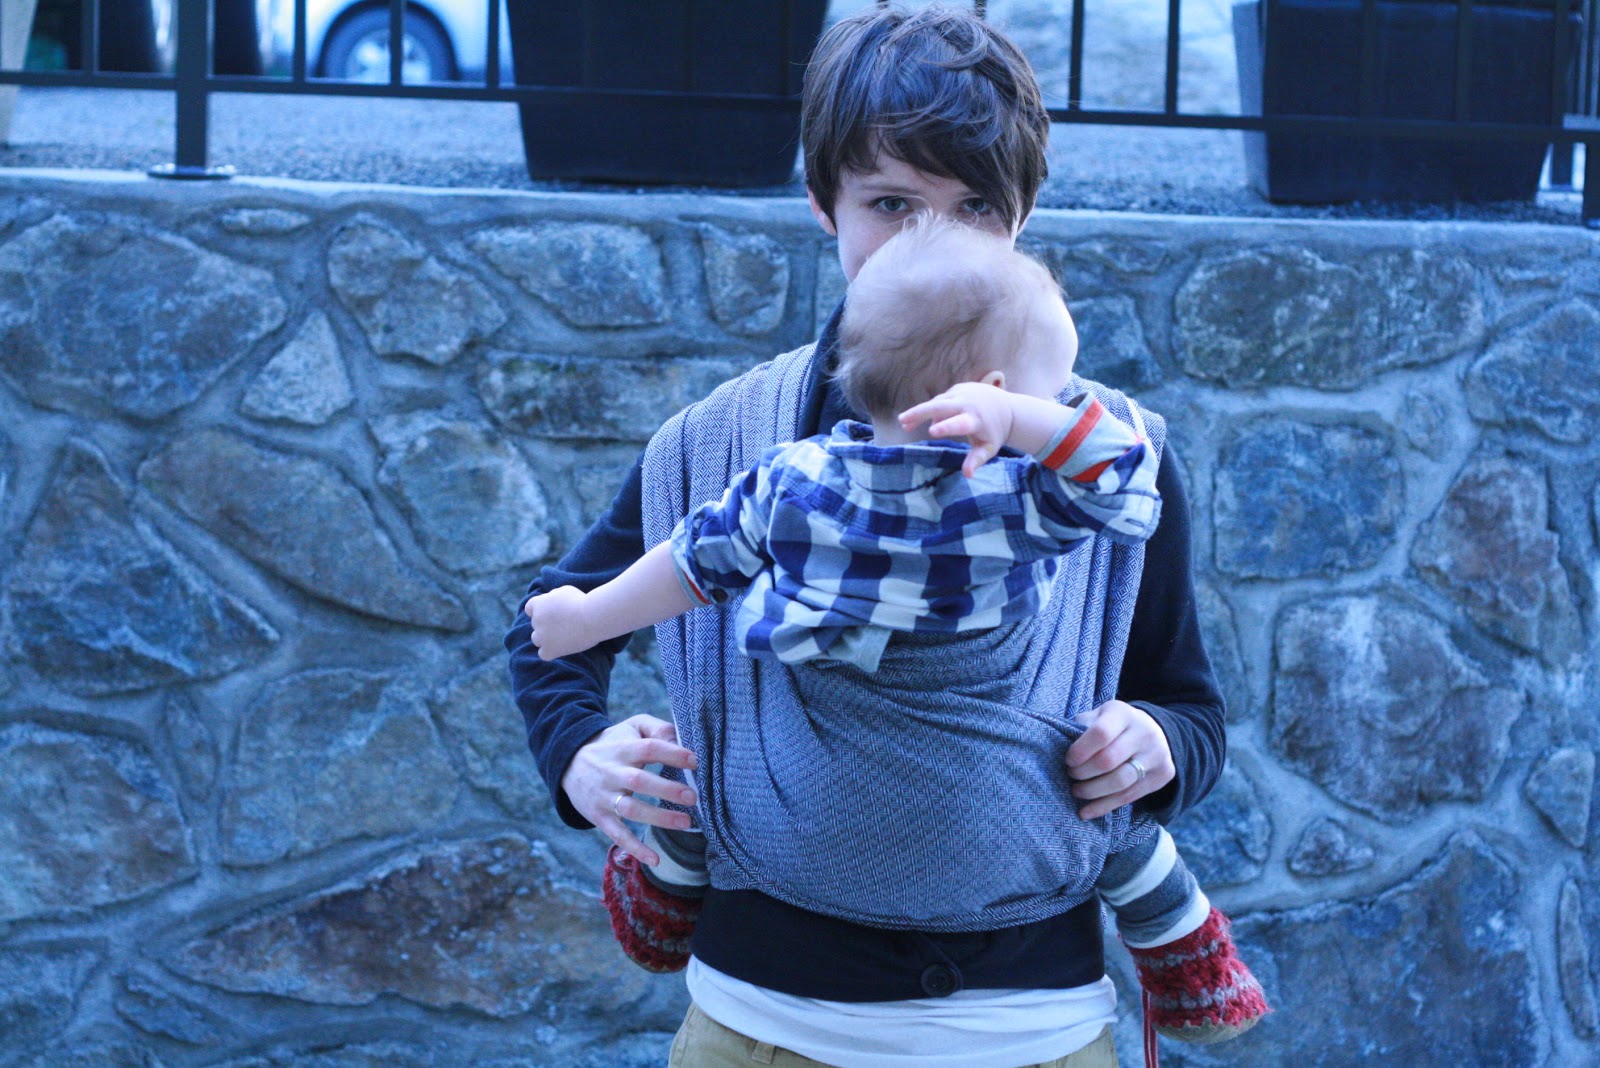
Then pull the rest of the slack down and tuck in your seat (Good face in this one!)

The fabric, ideally, should run from knee to knee and come up in between you a little bit. Your baby is not secure at this point, so make sure you are supporting them.


Then supporting you baby with one hand, grab the very
top hem ("rail" in babywearing terms) closest to your neck. Pull out and up until
it gets taught. It is handy to keep you supporting hand on the middle marker so
the wrap doesn’t shift too much.

When your top rail is tightened, you then start to move down the width of the wrap getting all the slack out as you go.


When you get to the bottom rail, do the same tightening. This rail is what is creating your babies seat so make sure you hold the tension well, once tightened.

Next, switch your supporting hand and clamp your tightened tail in between your supporting hand and your baby. Now move on to the other tail, and do the same tightening all the way. (This face says, "JUST TAKE THE PICTURE!)


Now that you have tightened tails you can do one of many things, I will show you one of them.
Evenly gather wrap on your shoulders so there is no twisting.

Bring the tails down and under your babies bum, over top of their legs.

Make sure your you bring it all the way under their bum and kind of hook it, this will give you the support. Sometimes the wrap doesn't get all the way under and it can be kind of uncomfortable.

Cross the tails under your baby's bum.

Next bring the wrap under their leg on each side. (The wrap should always go over the legs first, then under. Not the other way around)


Bring your tails behind you and tie off in a double knot.

At this point you can leave the passes off to the side, but if you would like added support or something to rest your babies head in you can slide the wrap across your babies body. Make sure to slide the cross closest to your babies body first. Bring the wrap from knee to knee.

Repeat with other side (top layer).
And you are done, yay! Miles is really happy too!

Here are some video links, some with variations to this version!
FWCC:
http://www.youtube.com/watch?v=MwAADLMirm4 (babywearingfaith)
http://www.youtube.com/watch?v=MwAADLMirm4 (babywearingfaith)
FWCC: Sandwiched shoulders (babywearingfaith)
http://www.youtube.com/watch?v=Cor1X560y18
FWCC: with newborn
http://www.youtube.com/watch?v=d5s64mUBea8
Can you tell I like her videos!
http://www.youtube.com/watch?v=Cor1X560y18
FWCC: with newborn
http://www.youtube.com/watch?v=d5s64mUBea8
Can you tell I like her videos!
Good luck! I would love to see any pictures! If you try it
out and take a photo email us and we will feature them on the blog! Include you
and your babies name and where your from.
momawraps@gmail.com
momawraps@gmail.com
Pretty wrap! Love the pic tutorials! Have you thought about adding tags to your posts so that later someone can click and easily find all the pic tutorials?
ReplyDeleteBabywearing faiths videos are great!
ReplyDelete